

What Happens After Foundation and Framing?
Building a home addition in Campbell involves much more than creating a foundation and framing new walls. Once the structure is standing, the project moves into a critical phase where plumbing, electrical, mechanical systems, insulation, drywall, flooring, and finishes begin transforming the addition into usable living space.
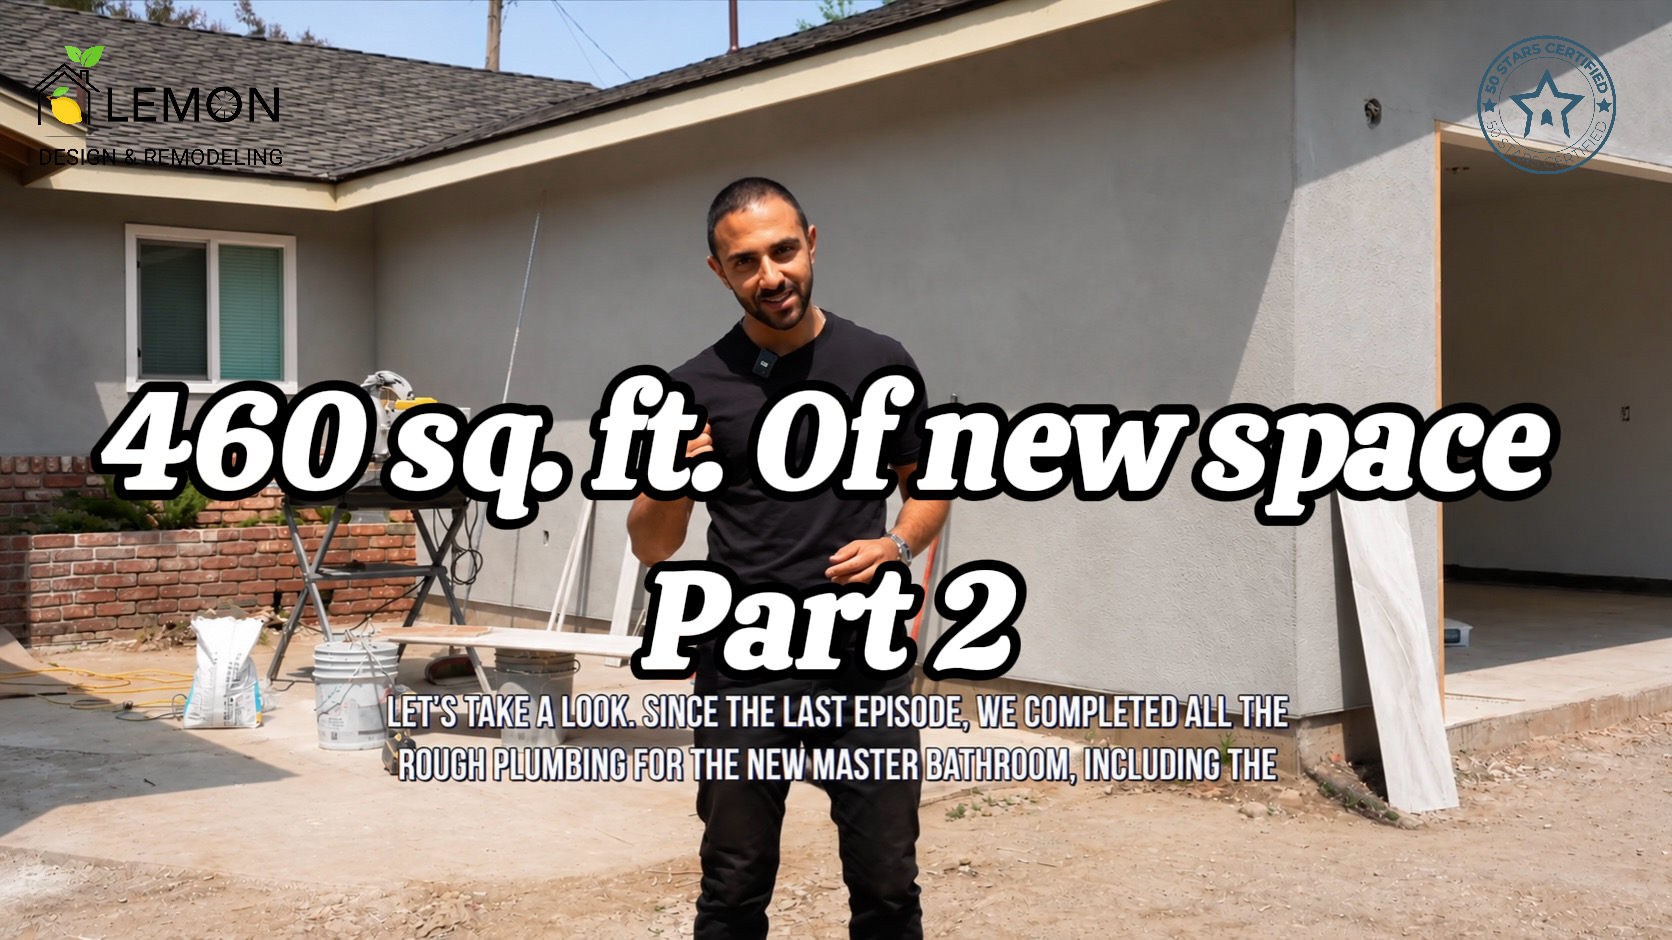
In Part 1 of this project, we followed the construction of this 460-square-foot addition through site preparation, foundation work, reinforced concrete, and structural framing.
Now, in Part 2, we’re moving inside the structure.
This article follows the next stages of this Campbell home addition and explains what homeowners should understand about rough plumbing and electrical work, inspections, insulation, drywall, flooring preparation, and bathroom tile installation.
What Is Being Built in This 460-Square-Foot Campbell Home Addition?
The goal of this project is to create more functional living space while integrating the addition into the existing house.
The approximately 460-square-foot addition includes:
- A new primary bedroom
- A new primary bathroom
- A dedicated home office
- A walk-in closet
The project also includes work on two additional bathrooms in the existing home, flooring improvements, exterior preparation, and modifications necessary to connect the new construction with the original house.
One of the most important considerations when building an addition is making the new space feel like it was always part of the home.
That requires coordination between structural work, mechanical systems, flooring, finishes, rooflines, and the existing layout.
What Happens After Framing a Home Addition?
Once the foundation and structural framing are completed, much of the work moves behind the walls.
This is when the plumbing, electrical, and mechanical systems must be installed and coordinated before insulation and drywall can close everything up.
On this Campbell home addition, the next major phases included:
- Rough plumbing
- Rough electrical
- Mechanical work
- Required inspections
- Insulation
- Drywall
- Exterior stucco preparation
- Flooring demolition and preparation
- Bathroom waterproofing and tile work
Although these stages may not look as dramatic as framing or the final finishes, they are some of the most important parts of home addition construction.
Rough Plumbing: Why Planning Ahead Matters
The new primary bathroom required rough plumbing for the water supply, drain lines, venting, and fixture locations.
Because two existing bathrooms are also being remodeled as part of the overall project, plumbing work had to be coordinated across multiple areas of the home.
One detail homeowners sometimes overlook is the relationship between plumbing locations and the bathroom vanity.
Select Your Vanity Before Rough Plumbing When Possible
Many prefabricated bathroom vanities have predetermined openings or spaces for the plumbing connections.
The plumber needs to know where the drain and water supply lines should exit the wall so they properly align with the selected vanity.
If the vanity is selected after the plumbing has already been installed and the wall has been closed, the locations may not match.
At that point, there are generally two undesirable options: modify the new vanity or reopen the wall and relocate the plumbing.
Neither is ideal.
Selecting or ordering the vanity early allows the plumber to work from actual dimensions instead of assumptions.
This is a relatively small planning decision that can prevent unnecessary modifications later in a bathroom remodeling project.
Rough Electrical and Mechanical Work
The next stage of this Campbell home addition involved completing the rough electrical work throughout the new space.
Electrical planning included locations for:
- Lighting
- Switches
- Electrical outlets
- Dedicated circuits
- Bedroom electrical requirements
- Bathroom electrical
- Walk-in closet lighting
- Home office power and lighting
This stage is particularly important because electrical placement affects how each room will function after construction is complete.
A home office, for example, may have different outlet and lighting needs than a bedroom or walk-in closet.
Planning these details before drywall allows the wiring to be installed inside the open walls instead of requiring modifications after finishes are completed.
Inspections Before Closing the Walls
Before insulation and drywall can move forward, the applicable rough construction work must pass required inspections.
This provides an important checkpoint during construction.
Once plumbing, electrical, mechanical, and other required rough work has been approved, the project can proceed toward closing the walls.
For homeowners, this is also an important milestone because the project is transitioning from primarily structural and infrastructure work toward visible interior finishes.
Insulation and Drywall Transform the Addition
After the rough work and inspections, insulation was installed.
Insulation plays an important role in temperature control and can also contribute to sound dampening between spaces.
Then comes one of the biggest visual transformations in a home addition: drywall.
Until this point, homeowners are looking at exposed framing, wiring, plumbing, and insulation. Once drywall is installed, individual rooms become much easier to visualize.
The bedroom looks like a bedroom. The office becomes clearly defined. The bathroom starts to feel like an actual room rather than part of a construction site.
What Happens After Drywall Is Installed?
Installing drywall sheets is only the beginning of the finishing process.
The joints between the panels are taped and covered with joint compound. After the compound dries, the walls are sanded to create a smooth surface.
The walls can then be prepared for primer and eventually paint.
Quality at this stage matters because imperfections in the drywall finishing can remain visible after painting.
Preparing the Existing Home for New Flooring
A successful home addition is not only about constructing the new square footage. The transition between the original house and the addition also needs careful consideration.
For this project, we are installing new engineered hardwood flooring to help create a consistent appearance between the new addition and the existing portion of the home.
During demolition, the existing carpet in the bedrooms and engineered hardwood in the hallway and entry area were removed.
Underneath, we discovered something interesting: the home’s original hardwood flooring.
It was a little construction archaeology.
Older homes often contain materials and finishes hidden underneath newer renovations. In some projects, original hardwood can be refinished and incorporated into the new design.
We have taken that approach on other projects when the existing flooring was appropriate to preserve.
For this Campbell project, however, the decision was made to move forward with new engineered hardwood flooring to achieve the planned appearance and consistency throughout this portion of the house.
Bathroom Tile Installation Begins
With much of the behind-the-walls construction completed, the project is now entering the finish stages.
Bathroom tile is one of the first phases where homeowners can really begin seeing their design selections come to life.
But professional tile installation involves considerably more than simply attaching tile to a wall.
Important considerations include:
- Waterproofing
- Tile layout
- Alignment
- Spacing
- Material cuts
- Corners and transitions
- Fixture locations
- Overall finish quality
Planning the layout before installation can also help avoid awkward cuts or poorly positioned patterns in highly visible areas.
In bathrooms and other wet areas, what is underneath the tile is equally important. Waterproofing must be addressed properly before the finished tile surface is installed.
Where Is the Campbell Home Addition Now?
At this stage, the project has progressed through most of the major rough construction phases.
The foundation and framing covered in Part 1 are complete, followed by rough plumbing, electrical and mechanical work, required inspections, insulation, drywall, flooring demolition, exterior stucco preparation, and the beginning of bathroom tile installation.
We are now entering the finish portion of the project.
The upcoming stages will bring together the flooring, bathroom finishes, paint, fixtures, trim, and other details that turn the construction work into completed living space.
Part 3 will continue following the project as we move closer to the final transformation.
Common Questions About Building a Home Addition
What happens after framing a home addition?
Typically, the project moves into rough plumbing, electrical, and mechanical work. After the applicable inspections, construction can progress to insulation, drywall, and interior finishes.
Should bathroom fixtures and vanities be selected before rough plumbing?
Whenever possible, key fixtures and vanities should be selected early. Knowing their dimensions helps the construction team properly position plumbing connections before the walls are closed.
When does a home addition start looking like a finished room?
Drywall is usually one of the biggest visual turning points. Once the exposed framing and building systems are covered, homeowners can more easily see the proportions and layout of the finished rooms.
Can new flooring be integrated with an existing home?
Yes, but the approach depends on the existing flooring, its condition, and the desired finished appearance. Some projects preserve or refinish existing hardwood, while others install new flooring across both existing and newly constructed areas to create consistency.
Why is bathroom waterproofing important before tile installation?
Tile is the visible finished surface, but the underlying waterproofing system helps protect the structure from moisture in wet areas. It needs to be addressed before the finished tile is installed.
From Rough Construction to the Finish Stage
A 460-square-foot home addition in Campbell may look relatively straightforward once the walls are framed, but much of the important construction happens before those walls are closed.
Plumbing locations, electrical planning, mechanical systems, inspections, insulation, drywall preparation, flooring transitions, waterproofing, and tile layout all require coordination.
Part 2 of this project demonstrates why planning each stage in the correct sequence matters. With the rough construction substantially completed, the project is now moving into the finishes that will connect the new primary suite, office, and walk-in closet with the existing home.
Stay tuned for Part 3 as we continue documenting the project through completion.
If you’re considering a home addition or major renovation, consulting with an experienced contractor early in the planning process can help identify construction requirements and important design decisions before work begins.
- Schedule a Consultation: lemonremodeling.com/schedule-now
- See Our Work: Read verified client testimonials here
- Call Direct: 510-254-3211